Showing posts with label Crafts. Show all posts

Wednesday, August 24, 2011

Roll Tide Wreath

I decided this football season we needed a little bit of Roll Tide for our front porch!  This wreath was SO simple to make and the only things I had to buy were the wreath form & the pendant. 


I wrapped a wreath (I used the kind from Hobby Lobby that are plastic filled with wood chips) with hounds tooth fabric.  I just tore strips about 3 inches wide and wrapped away hot gluing as I went. 

Then I made some flowers with small strips of different fabrics, if you would like a tutorial on the flowers let me know!  I purchased the Crimson Tide pendant at Party City.


I think the wreath looks great on our crimson door!

Do to popularity I have decided to make and sell my wreaths!  If you would like an Alabama or Auburn (boooo!) wreath please let me know, they are only $25!  If you have another school in mind let me know and we can see if we can work out a design!

Wednesday, March 16, 2011

Dollar Tree Easter Crafts!

The Dollar Tree is one of my favorite stores, what other place can you leave with a bag full of stuff for only $10?

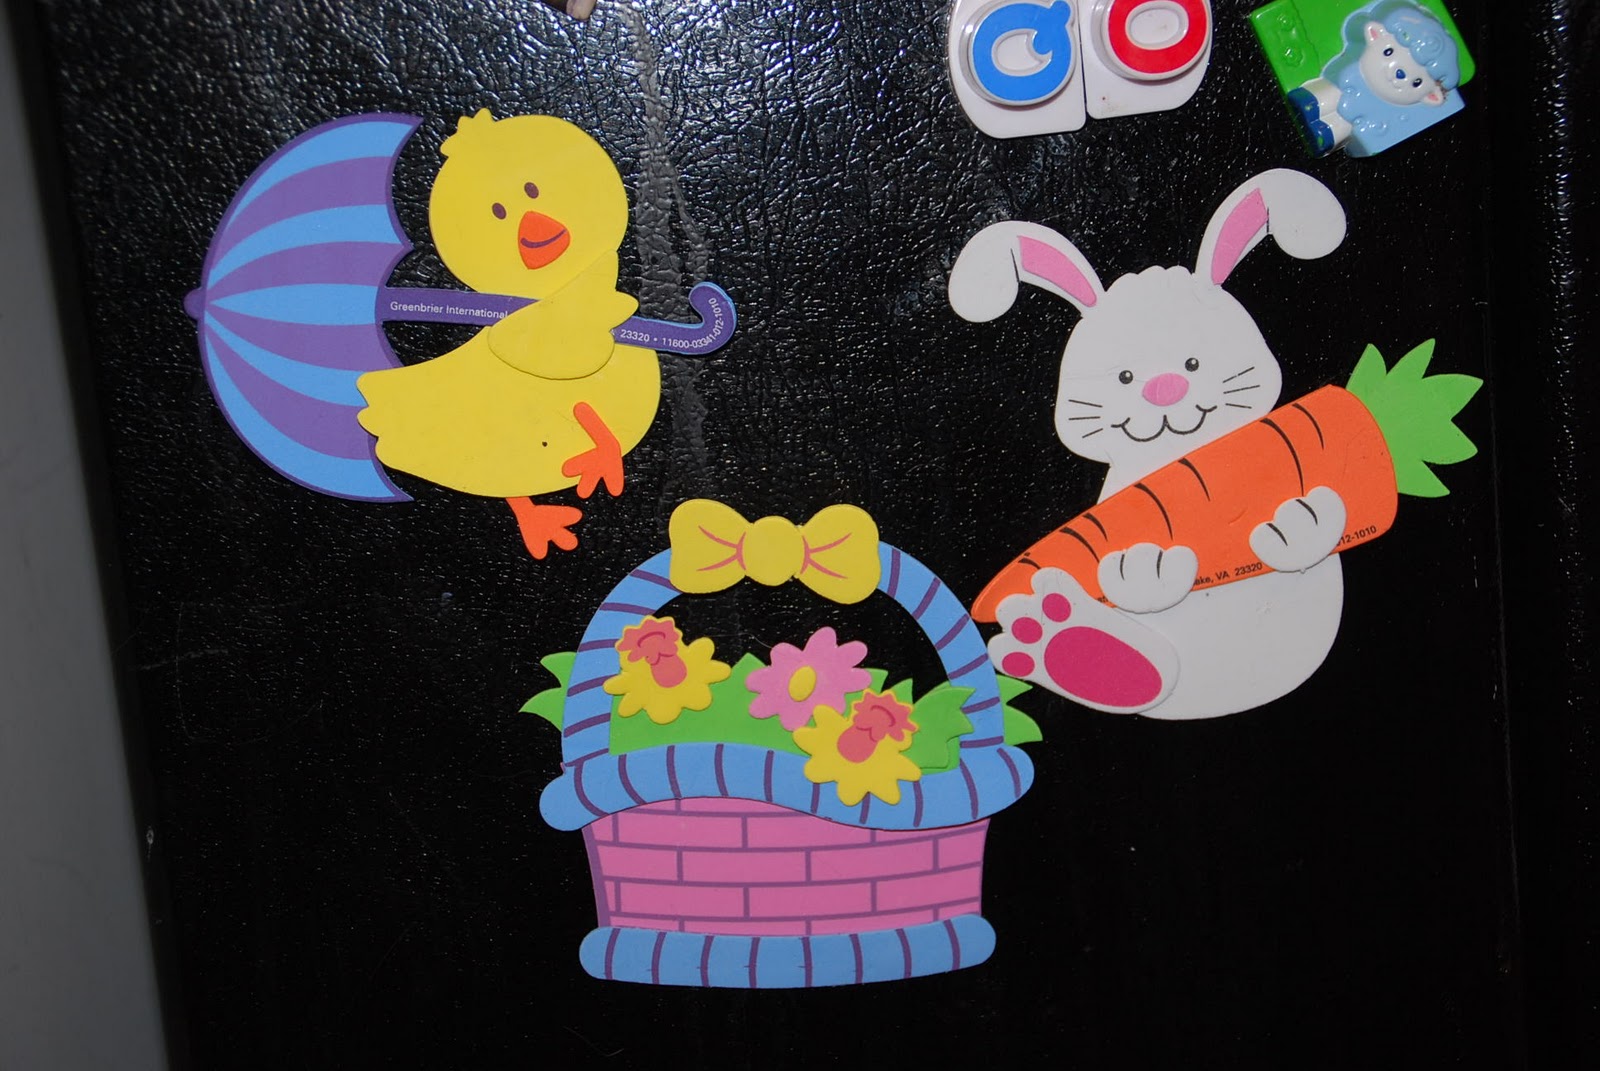
Yesterday I ran in to grab a few things and I spotted these cute Easter craft kits and I knew Jillian and I would enjoy making them.  Jilly is really into using her glue sticks right now so this is the perfect craft for us!


The kit comes with everything you need except the glue.


There are step by step instructions on the package.


Jillian had blast gluing everything down and now we have cute Easter decorations on the refrigerator and hanging on our doors!


Sunday, March 13, 2011

Tie-Dye with Sharpies!

I found a similar tutorial online last week and for the life of me I can't find the link again!  If you google Tie-Dye with sharpies there are tons of different posts and website that give ideas and instruction, this is our take on it!  **edit 3/15, I came accross the link again!  I got the idea from Sun Scholars.

This was a great project to do with Jillian, she enjoyed coloring in the sections and picking out what colors went where.  Next time we try this we will buy regular size sharpies and not use the thin ones, they made our job a lot harder.

Supplies


Start by taking sections of the fabric and twisting them.  Once they are twisted tight you will rubber band them.  You will do this is sections all over the shirt, don't forget the back and sleeves! We used hairbands since that is all we had on hand.  I found the little clear bands of Jillian's worked better than my hairbands.


After all your twists are made it's time to start coloring!  Color the different sections however you want.


After you have colored in everything it's magic time!

I filled a small bowl with rubbing alcohol and dipped each "twist" into the alcohol.


Then we hung the t-shirt outside for several hours to dry.


Once it's dry it's time to undo the twists and see your work.


I wanted more color to the shirt and a few more tie-dye sections so I twisted and colored again.

Our final shirt, front:

Back:


Jillian can't wait to wear it to school to show her friends!


Monday, March 7, 2011

Easter Egg Wreath

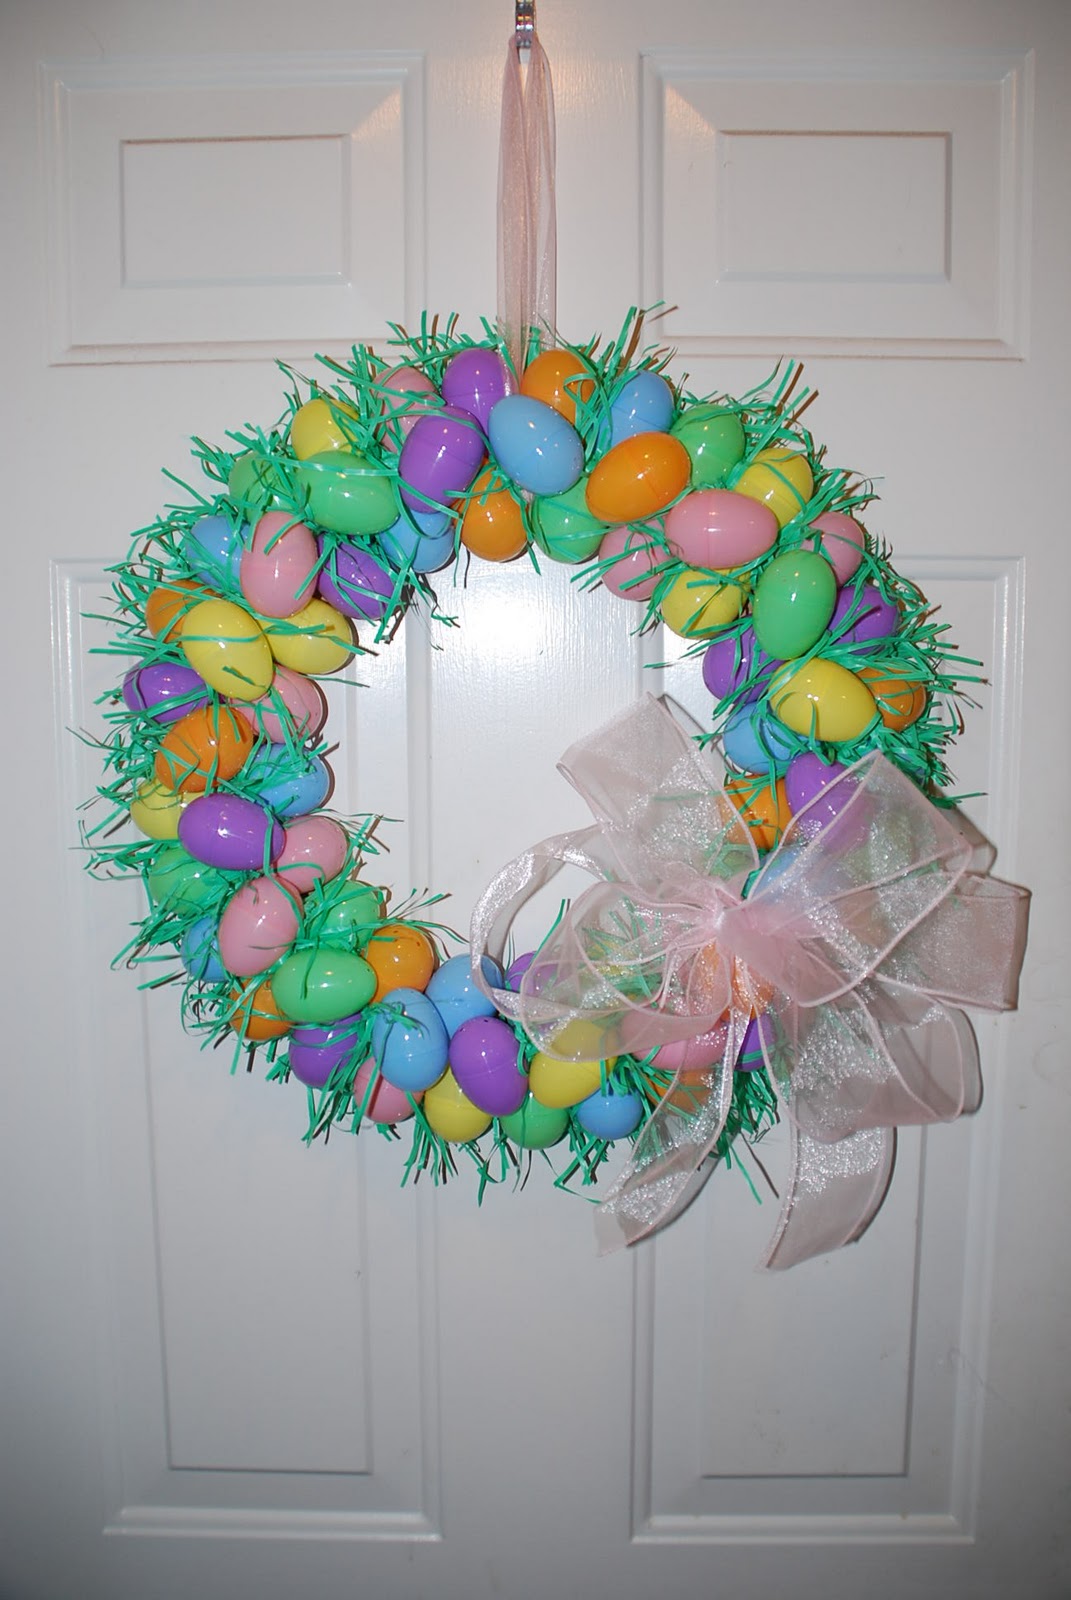
I had an idea to make a wreath with plastic eggs and after I googled it I found several ideas I like but I really liked  this blog post with a tutorial and thought I would give it a try! I hope you like my wreath and it inspires you to make one! 


I started out by cutting a cardboard ring to be the base of my wreath.


I purchased my eggs at the dollar tree, I ended up using 4 packs of 18. 

I just glued the eggs on in the pattern I liked.


After I glued all my eggs in place it was time to add the Easter grass! I took a clump of grass and put hot glue on the end and stuck it into place with a pencil.  This step was pretty messy.  After I would do some I would trim the grass and use it again until I filled all my holes.  I also glued grass around the outside of the wreath where the cardboard would show


After I had all the grass in place and trimmed I started on my bow. 

I'm not 100% sure I like this bow, what do you think?  I'm thinking I might get some different ribbon that isn't as transparent and make another.  Also, do you think it's too big????

I used my handy Bowdabra to make the bow (do you like my pajama pants?). 


Now it's time to hand the wreath!  I just used a piece of the same ribbon I used to make the bow and tied a knot in the back.


Then I hot glued the bow onto the front corner of the wreath..... be honest, what do you think of the bow?


And now for the final product!


Updated 3/10 - I decided to change the bow out, what do you think of the new one???


Tuesday, March 1, 2011

Roll Turtle

I received a custom order for an Alabama burp cloth and a turtle bib with matching burp cloth and wanted to share them with you! 

I love how they all turned out. 


Monday, January 31, 2011

Shaggy Farbic Heart Wreath


I wanted to make something for the upcoming Valentine's Day holiday for our front door so Jillian and I headed to Hobby Lobby yesterday.  I didn't want to spend too much money so I wanted something either cheap or something I could use supplies I already had at home.  Walking through the wreath isle we came across this neat heart shaped wreath form, it was only $1.99 so we couldn't pass it up!  I knew I had PLENTY of fabric at home so this was a very affordable project.


I started by cutting my fabric into strips, I chose to use my pinking shears (cuts with a zig-zag cut) but regular scissors would work just fine.  I cut each strip about an inch wide by five inches long. 


Now it's time to start tying! The whole wreath is made by tying knots in the fabric around the wreath!


The wreath I bought had three rows of wire that I could tie the fabric onto but I decide to just use the top and bottom rows.


Saturday, January 29, 2011

Yarn Covered Wood Letters


Supplies:


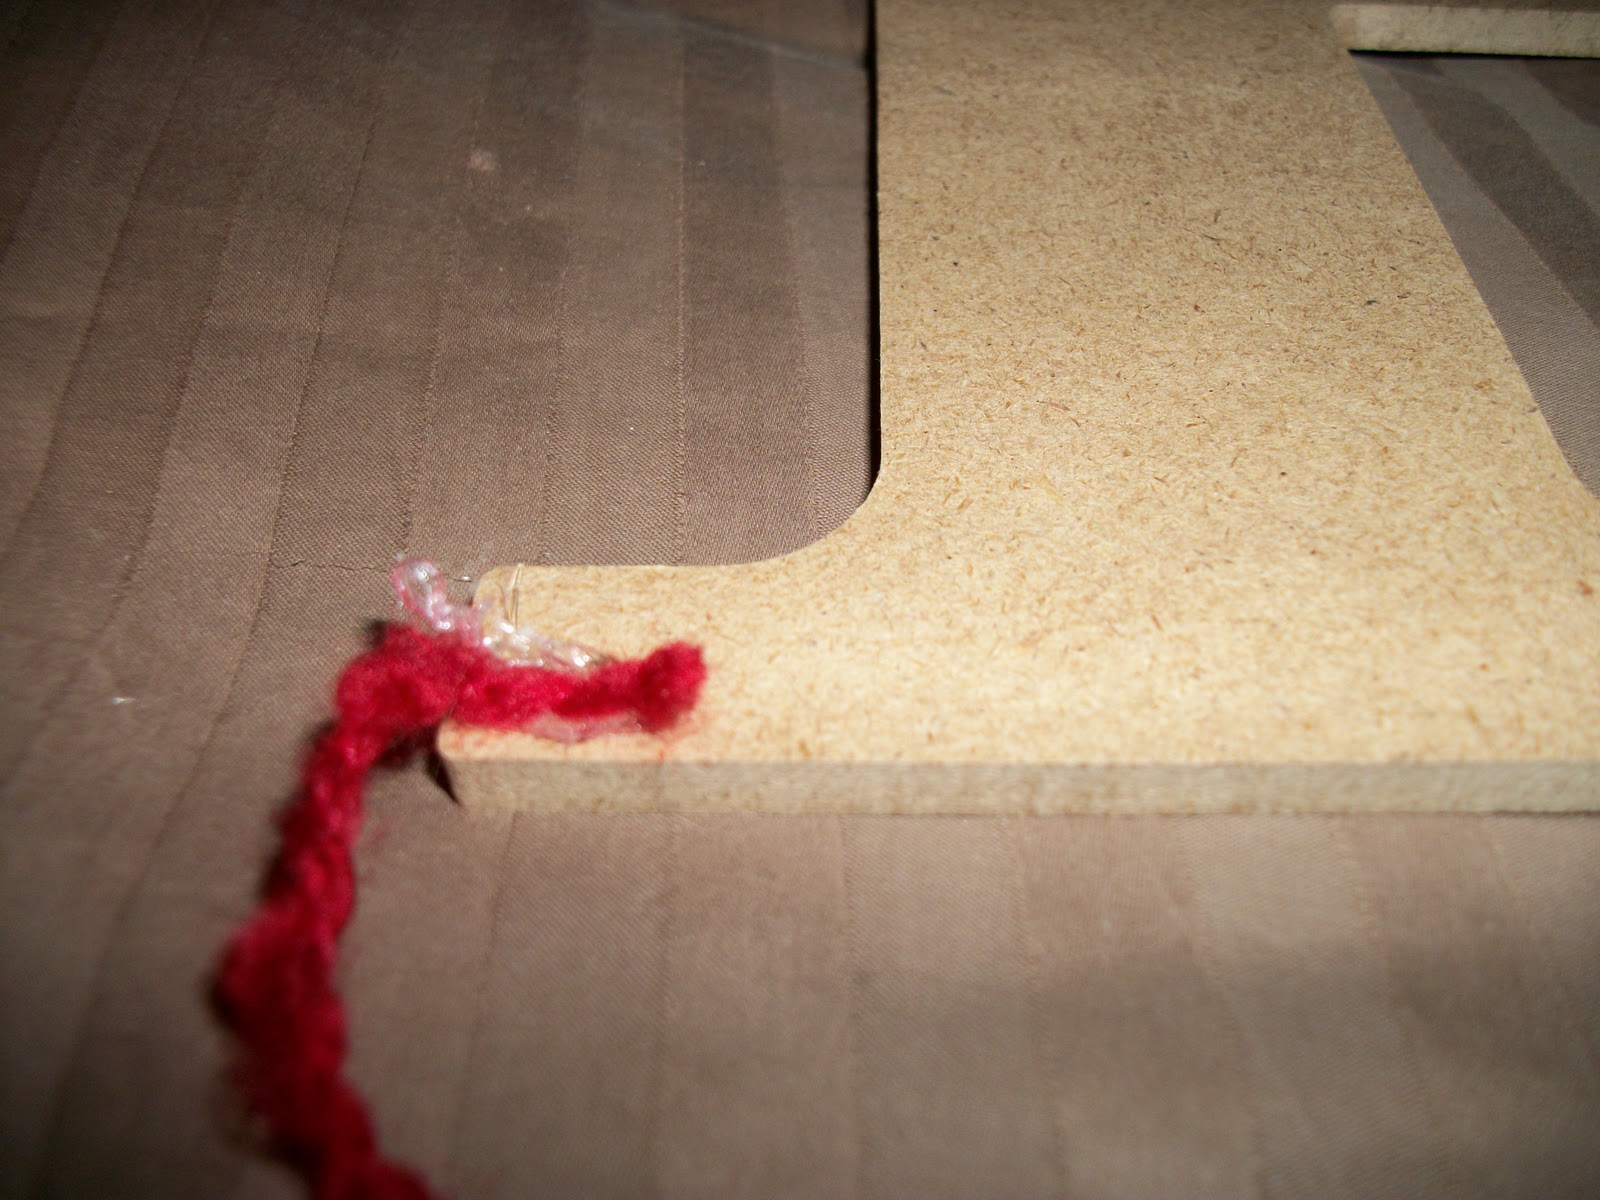
Start by putting a small dab of hot glue in the bottom section of the wooden letter.  Start wrapping the yarn around going in sections.  I started with the "tips" of the H and then worked around the center.  Make sure you wrap in both directions because you want the ENTIRE letter to be covered!