Sunday, February 6, 2011

My first dress!!!

We have decided to take Jillian to Disney World in November (shhh... don't tell her, we are hoping to surprise her!) and I've been thinking about outfits for her to wear to the parks (yes, I'm THAT mom).  I've seen TONS of cute custom dresses that I LOVE but there is NO WAY I am going to pay that much! I know I can make some REALLY cute stuff with my embroidery machine but I want to make some cute dresses and pants to embroider on.  I've been wanting to try my hand at dress making for awhile so I figured I would start trying to make her something.  I didn't want to invest too much money into my first test dress so I just bought some fabric that was on sale at Hancock Fabric that I thought was cute. 

I read several different craft blogs and one of my favorites is From An Igloo.  Christine has several people that advertise and do giveaways on her blog and one of them is Little Lizard King Sewing Patterns.  Since Christine recommends them I decided to try their Apron Knot Dress pattern.  I've never sewn from a pattern and I've only done a small amount of sewing in general.  Since I have NO CLUE how to follow a regular pattern I really liked that Little Lizard King walked me step-by-step through making the dress.  The only thing to print out was a template that I used to cut the right size arm hole, everything else was just rectangles in different sizes! 

I cut out all my pattern parts last night and it only took me about 20 minutes, it would have taken a LOT less time if I would have had a rotary mat and ruler.  Hopefully I will get one soon!  I started sewing the dress this morning and from start to finish it only took me 3 hours (and I was taking care of Jillian the whole time), I figure the next time it won't even take me that long!

I'm pretty excited with how well it turned out and I'm sure my next one will be even better!  Wouldn't this be adorable with the dress light blue, a white "apron" front with some type of Cinderella appliques on the front of the apron?  Or no apron on the front and piece different fabrics together for the skirt?  I am looking forward to the different possibilities! 


Friday, February 4, 2011

Yarn Covered Wreath with Felt Roses

Since there is such a huge gap between Valentine's Day and Easter this year I decided I need to create a wreath to use for a few weeks before I put my Easter one up.  I thought something green would be St. Patrick's Dayish but I didn't want something obviously/obnoxiously St. Patrick's Day, does that make sense? This is what I came up with. 


The supplies you will need:


I got all the supplies at Hobby Lobby, the only thing not pictured is straight pins.

Wreath $2.99
Yarn $4.99 (was on sale 50% off so I only paid $2.50)
Felt sheets were 4 for $1.00

I started my wreath by securing the yarn to the back of the wreath with straight pins, you could also use hot glue but I didn't feel like getting mine out and had the pins handy. 


Next tightly wrap the yarn around the entire wreath.  My wreath took the ENTIRE ball of yarn.

Next we will start on the felt flowers.

Trace a circle plate or something else similar in size.


Cut out the circle but don't cut exactly straight, cut wavy!


Next cut the circle in a "swirl" pattern.


Start at the outside end and tightly wrap the felt.


Keep wrapping.


TaDa, a Rose!


Now you can either hot glue them or just pin them straight to the wreath like I did. 


And finally, a picture of my little helper.  While I was taking pictures she wanted me to take one of her too!


Monday, January 31, 2011

Shaggy Farbic Heart Wreath


I wanted to make something for the upcoming Valentine's Day holiday for our front door so Jillian and I headed to Hobby Lobby yesterday.  I didn't want to spend too much money so I wanted something either cheap or something I could use supplies I already had at home.  Walking through the wreath isle we came across this neat heart shaped wreath form, it was only $1.99 so we couldn't pass it up!  I knew I had PLENTY of fabric at home so this was a very affordable project.


I started by cutting my fabric into strips, I chose to use my pinking shears (cuts with a zig-zag cut) but regular scissors would work just fine.  I cut each strip about an inch wide by five inches long. 


Now it's time to start tying! The whole wreath is made by tying knots in the fabric around the wreath!


The wreath I bought had three rows of wire that I could tie the fabric onto but I decide to just use the top and bottom rows.


Sunday, January 30, 2011

Homemade Pizza Rolls


Supplies for the rolls:


Start by separating the pizza dough into small sections (around 20 of them)


Take one section of dough and flatten it out


on the dough place several mini pepperoni and some cheese


next fold the dough over to make a pocket, pinch the edges together

Do this for all of the dough and then place the rolls into a pie dish seam side down. Next you will put the topping on the rolls.


brush the rolls with olive oil then sprinkle with Italian herbs and Parmesan cheese.


Bake at 400 for 20 minutes, serve with pizza sauce for dipping!


Saturday, January 29, 2011

Yarn Covered Wood Letters


Supplies:


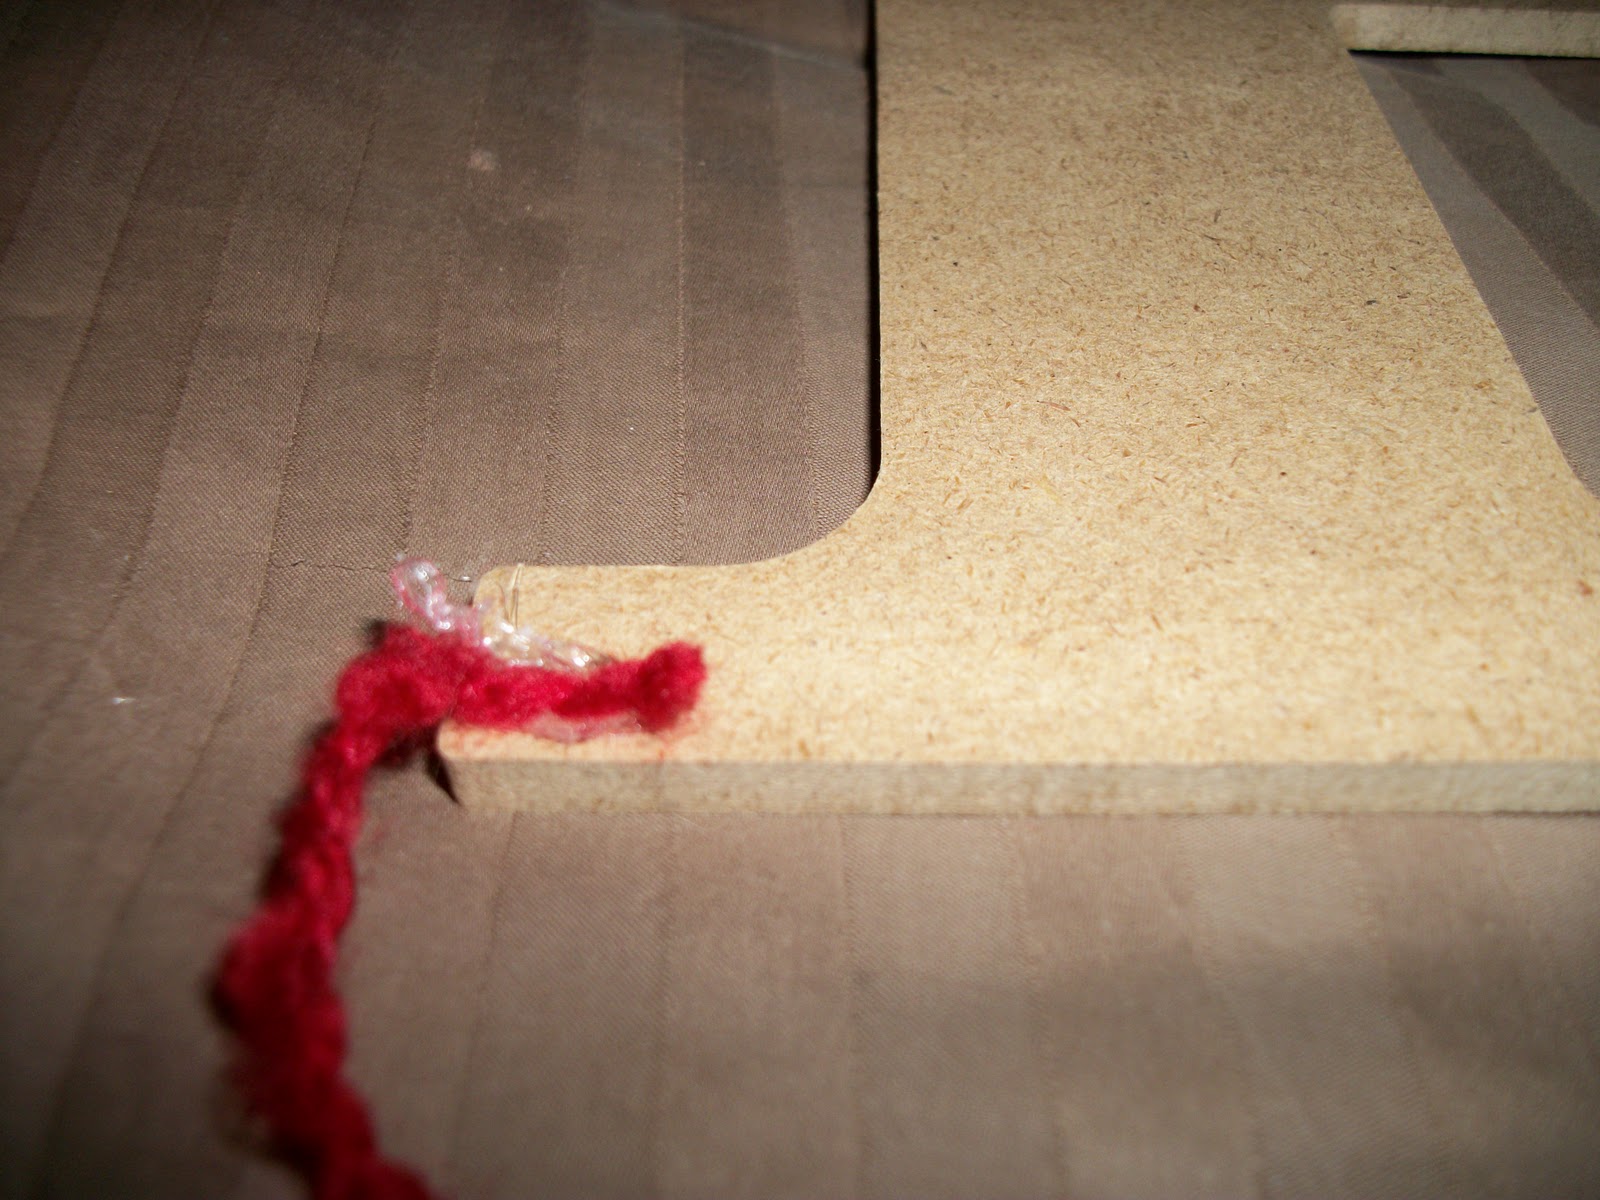
Start by putting a small dab of hot glue in the bottom section of the wooden letter.  Start wrapping the yarn around going in sections.  I started with the "tips" of the H and then worked around the center.  Make sure you wrap in both directions because you want the ENTIRE letter to be covered!  


Heart Crayons

This year I have decided to make Jillian's Valentine's for her class.  I'm planning to make a two part Valentine, part to eat and part to play with.  Today we made the part to play with.

This was a great project for Jillian and I to work on together and she really enjoyed it!

First thing you will need is some type of mold.  I found my mini-heart shaped molds in the dollar section at target but I've seen many different shapes molds at different places (dollar tree has some sea animal shaped molds). 


Next you either need to go through your stash of broken crayons or you can just use new ones, whatever you prefer! 


I took the new crayons and scored the wrapper with a knife to make the paper come of easier.  Jillian's job was to peal the paper off each crayon. 


Once all the crayons are pealed you then break them into small pieces and fill the wells of the molds with the pieces.  You could do all the same color in the well or like us, mix different color combinations.


Preheat your oven to 250 and place the molds on a cookie sheet.  You then melt the crayons in the oven for around 10 minutes. 


Once the crayons are all melted take them out and let them cool and harden back up.  I left ours in the molds for about an hour before I popped them out!


I hope Jillian's friends love the crayons as much as she does, she has already taken over several of them!